Setting Up an Aquarium
Everything you need to set up an aquarium
Setting up an aquarium is far less complicated than it might seem. For anyone who is new to aquatics and not yet ready to explore the topic in depth, this step by step guide provides a clear and practical introduction. It explains how to set up an aquarium properly and achieve an attractive result from the very beginning.
The right aquarium
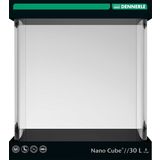
A larger Nano Cube by Dennerle is an excellent starting point. With its elegant design and rounded front corners, it fits well into almost any living space. With dimensions of 38 x 38 x 43 cm and a volume of 60 litres, it offers a stable environment that is particularly suitable for beginners. Smaller aquariums tend to be more sensitive due to the lower water volume, whereas this size already provides a good level of stability. The Nano Cube is ideal for keeping shrimp and dwarf crayfish, and even a single betta can be housed comfortably.
Complete Set
The Nano Cube Complete Style LED 5.0 by Dennerle includes everything required for a successful start. The set features the Nano Corner Filter XL, which ensures clean and healthy water while providing an ideal environment for beneficial filter bacteria that break down pollutants. At the same time, the Corner Filter is designed to be safe for shrimp and offers efficient performance with long intervals between maintenance. Even if small shrimp enter the filter chamber, they cannot reach the impeller and can be safely removed. The set also includes the Style LED L lighting unit. It provides sufficient illumination even for more demanding aquatic plants, supporting strong, healthy and attractive growth. The black Scaper’s Back background is also part of the set, creating an ideal backdrop that enhances the colours of both plants and animals. In addition, the set contains substrate components. With 6 kg of Sulawesi Black shrimp gravel and DeponitMix nutrient substrate, plants are given a solid foundation for healthy development. A foam base is included to protect the aquarium glass, as even small grains of sand beneath the tank can create pressure points that may lead to cracks. The foam helps to distribute weight evenly and provides insulation. A cover plate is also included, helping to reduce evaporation and prevent animals from jumping out of the aquarium.
What else do you need?
The complete set includes all essential technical equipment. Additional items may include a timer for the lighting, aquatic plants, decorative elements such as stones or roots and, of course, water. Livestock should only be added later. It is advisable to gather inspiration beforehand by looking at existing aquascapes and planning the layout.
Choosing the right location
The aquarium should not be placed in direct sunlight, as this can promote algae growth and cause the water to overheat. A position within the room is preferable. Access to a nearby power outlet is important for operating the filter and lighting. Placement near a heater may increase evaporation, which is not problematic but requires occasional topping up. For larger aquariums, structural considerations may be relevant, but for a Nano Cube, this is generally not a concern.
Preparation before setup
The background film should be applied before setting up the aquarium. Place the empty tank carefully on its front panel on a soft surface, such as a towel or the foam mat, to avoid scratches. The film adheres without adhesive and does not contain harmful substances. It should not be cut to size initially.
Lightly moisten the outside of the rear glass pane to make the application easier. Starting from one corner, apply the film and smooth it out evenly to avoid air bubbles. If necessary, it can be removed and repositioned without difficulty. Once correctly positioned, trim it precisely along the edges using a suitable cutting tool.
Setting up the aquarium
Once the location is chosen, place the foam base and position the aquarium on top.
Install the filter in one of the rear corners before adding any decoration. This ensures that it fits properly and avoids the need to rearrange the layout later. The filter should not be switched on at this stage.
Substrate layout
Plan roughly where the plants will be positioned. Add the DeponitMix nutrient substrate in these areas, leaving a small gap along the glass panes to prevent visible layers later. Then add the gravel, starting with the rear corners, and begin placing stones or roots. Add more gravel as needed to stabilise the structure.
Ensure that the substrate slopes upwards towards the back of the aquarium. This creates depth and improves the visual perspective.
Preparing the plants
Before planting, prepare the plants accordingly. Remove potted plants from their containers, carefully remove as much rock wool as possible and divide them into smaller portions. Trim the roots to approximately 2 to 3 cm to encourage branching.
For stem plants, it is often sufficient to cut the stems above the pot and discard the base. The stems will develop new roots quickly once planted. In vitro plants should be rinsed to remove the nutrient medium and then divided. To prevent drying out, cover the prepared plants with a damp cloth until planting.
Planting
Using long planting tweezers makes the process much easier. Add a small amount of water so that the substrate is just covered at the front. To prevent disturbance when adding water, pour it slowly over a piece of foil or paper.
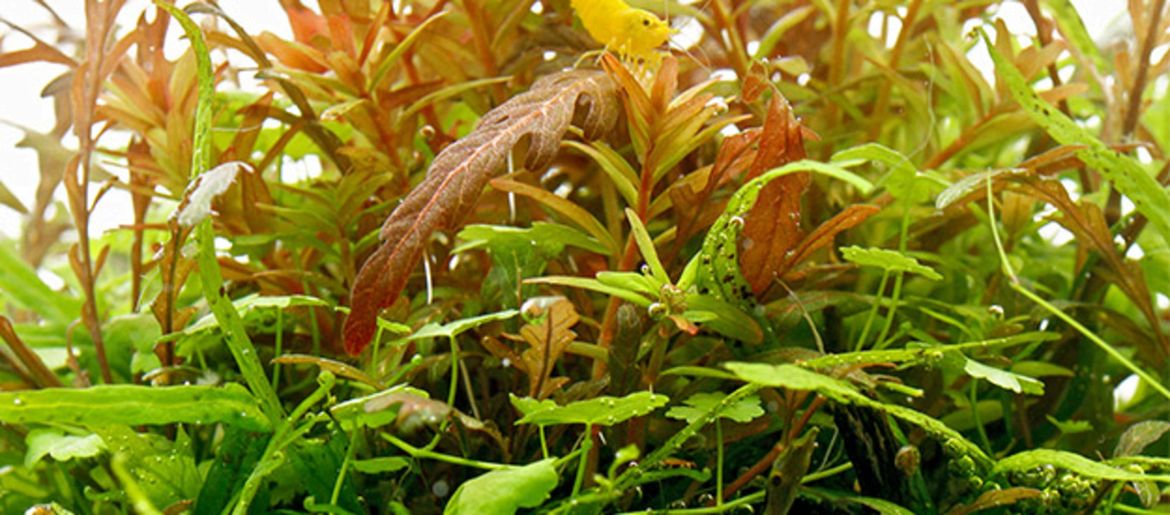
Begin with the foreground plants, choosing low-growing species such as Marsilea, Hemianthus callitrichoides or Glossostigma. This prevents the front area from becoming overgrown and obstructing the view.
After planting the foreground, lightly secure the plants with additional substrate and add more water until the middle area is slightly submerged. Protect the layout again with foil or paper when adding water.
In the midground, use rosette plants such as Cryptocoryne. Mosses and epiphytic plants such as ferns, Bucephalandra or Anubias can be attached to hardscape elements using thread or small amounts of cyanoacrylate-based adhesive, which is safe once cured.
Finally, place taller plants such as Vallisneria or stem plants in the background.
Filling and starting the aquarium
Once planting is complete, fill the aquarium fully, again using foil or paper to avoid disturbing the layout. Install and switch on the filter and lighting. Set the lighting duration to approximately 6 to 8 hours initially, as plants require time to adapt. Excessive light at this stage may encourage algae growth. The lighting period can gradually be increased to 10 to 12 hours as plant growth becomes established.
The running-in phase
The aquarium should run for several weeks without any live animals to allow a stable biological balance to develop. Starter products such as Aquarium Starter Rapid by Dennerle can accelerate the establishment of beneficial microorganisms. In this case, the first snails may be introduced after a few days to support the system. Once water tests (such as the WaterTest 6in1) confirm that no nitrite is present, you can start introducing fish gradually.
Enjoy your aquarium!
Latest reviews
-

me Aquaristic Me Hang-On Thermometer
- Easy to hang
- Clear, precise scale
- For freshwater and saltwater
-
-
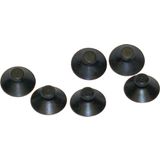
Dennerle Suction Cup for Nano Corner Filters, 6 Pcs
- Spare parts for nano corner filters
- 6 replacement suction cups
-
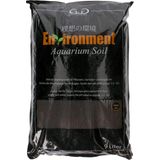
Garnelenhaus GlasGarten Environment Aquarium Soil, 9 L
- Lowers and buffers the pH
- For crystal clear water
- With valuable fulvic acids
Magazine Articles:
Discover Olibetta:
-
Great Britain: Free standard delivery from £69.90
-
Free
returns -
We operate in a
climate-conscious manner. Secure payments
with SSL encryption technology